Network scanning and enumeration using Sandmap
Sandmap is a tool supporting network and framework surveillance utilizing the massive Nmap searching motor. It gives an easy-to-use interface, automates, accelerates scanning, and enables you to use many propelled scanning methods effortlessly.
For more information, please visit the “https://github.com/trimstray/sandmap” GitHub page.

Copy the downloadable link and clone it to the “/opt” directory.
Ex: (kali@kali:/opt$ git clone https://github.com/trimstray/sandmap.git).
Navigate to the “sandmap” folder and run the installer file.
Ex: (kali@kali:/opt/sandmap$ ./setup.sh install).
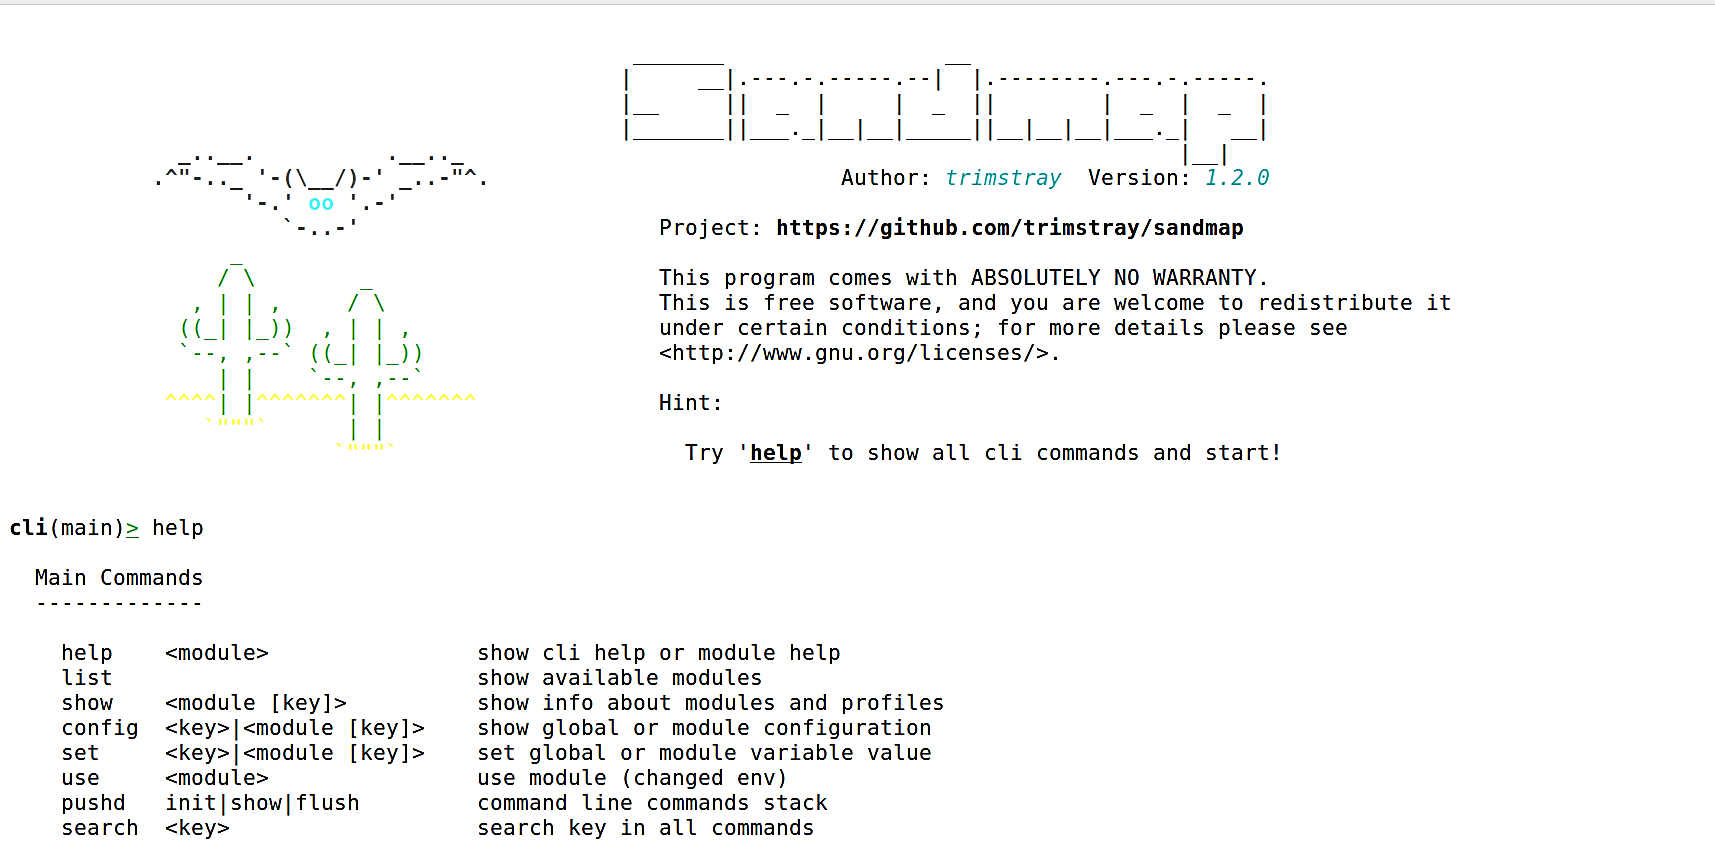
After the installation, you can start the tool by typing “sandmap,” and you’ll be presented with a welcome page.
Ex: (kali@kali:/opt/sandmap$ sudo sandmap).
It is always beneficial to run the “help” command at the beginning to view all possible options and usage information.

Let’s take a look at the “list” option. This parameter displays all available modules along with the number of profiles and a short description.

For this example, we will be using the “port_scan” module to perform network reconnaissance. To select the module, type “use port_scan” and hit “Enter.” Once the module is selected, use the “show” option to view all information about the module profile.
These are the identifier and profile alias that we can use to decide the scanning strategy and the parameters utilized by the profile. What’s more, this command enables you to show data about a particular profile.

You may also use the “help” command to view usage options at any stage in the sandmap.

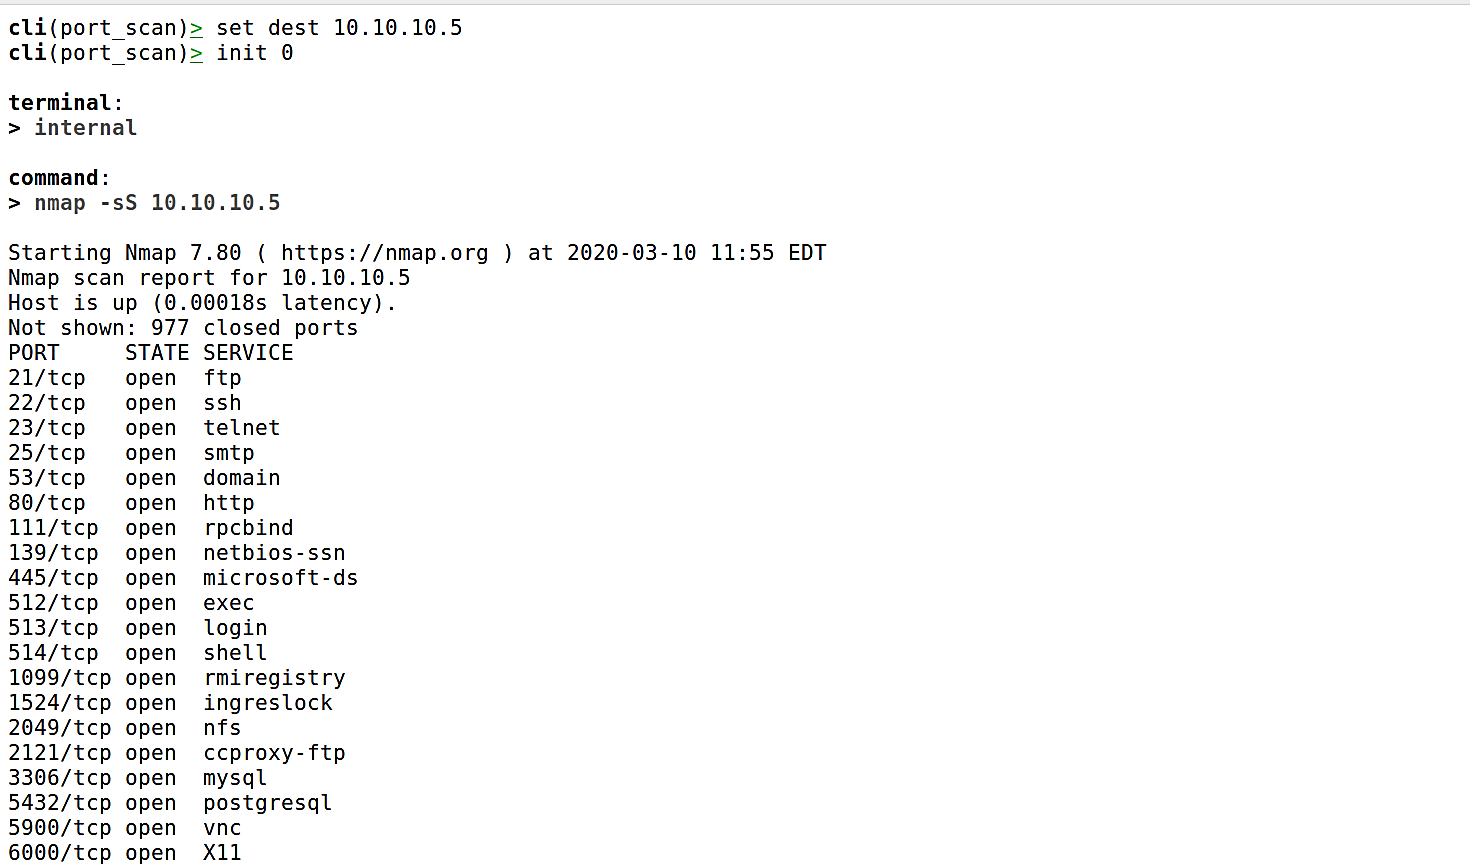
Now, let’s set the destination IP address of our target device (set dest x.x.x.x) and provide the scanning method profile (init [alias ID]). Here we are targeting our internal server 10.10.10.5 and using the “tcp_syn” scanning profile, which is option “0.”

Once you hit “Enter,” sandmap will use the Nmap scanning engine and will retrieve all possible information related to the ports, their state, and running services on that particular target device.
